How-To Guides · Safety
How to Test Your Smoke Alarm (and Change the Battery)
According to the N F P A, roughly three out of five home fire deaths happen in homes with no smoke alarms, or ones that don't work. Checking yours takes about a minute. Here's how.
1. Step 1: Press The Test Button
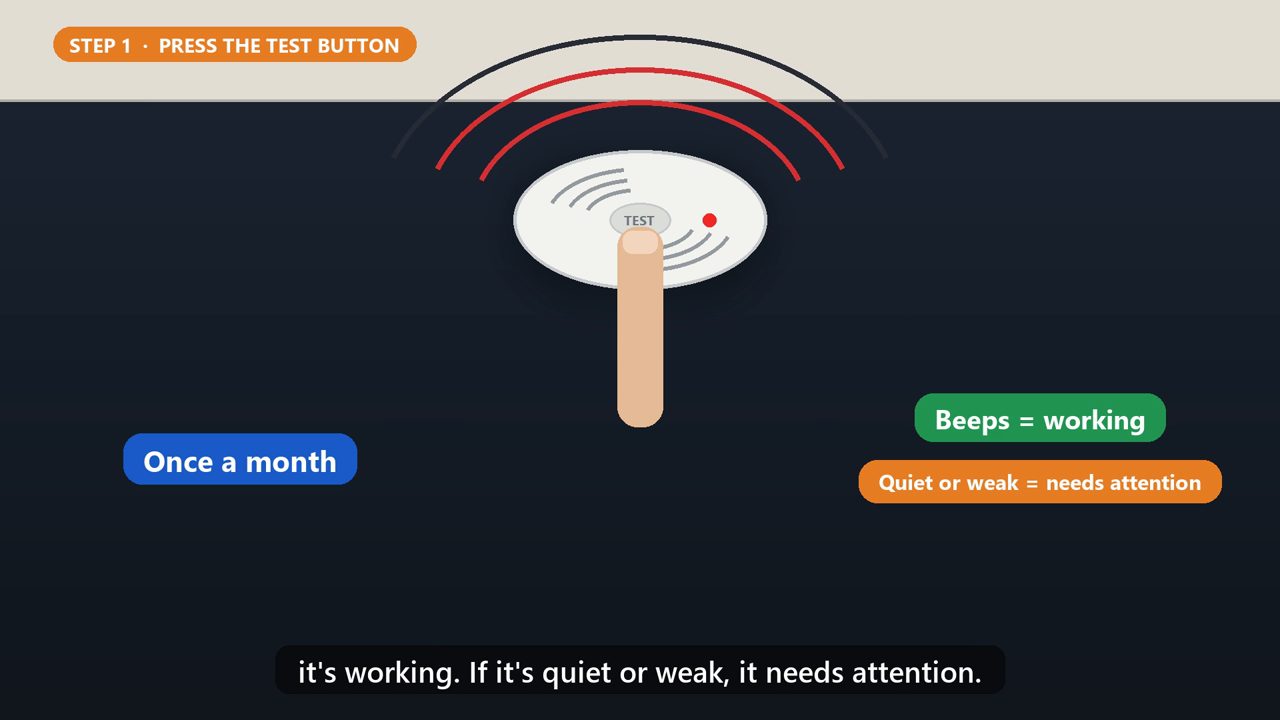
Once a month, press and hold the test button on each alarm, until it sounds. It's loud, so you might want to cover your ears. If it beeps, it's working. If it's quiet or weak, it needs attention.
2. The Chirp
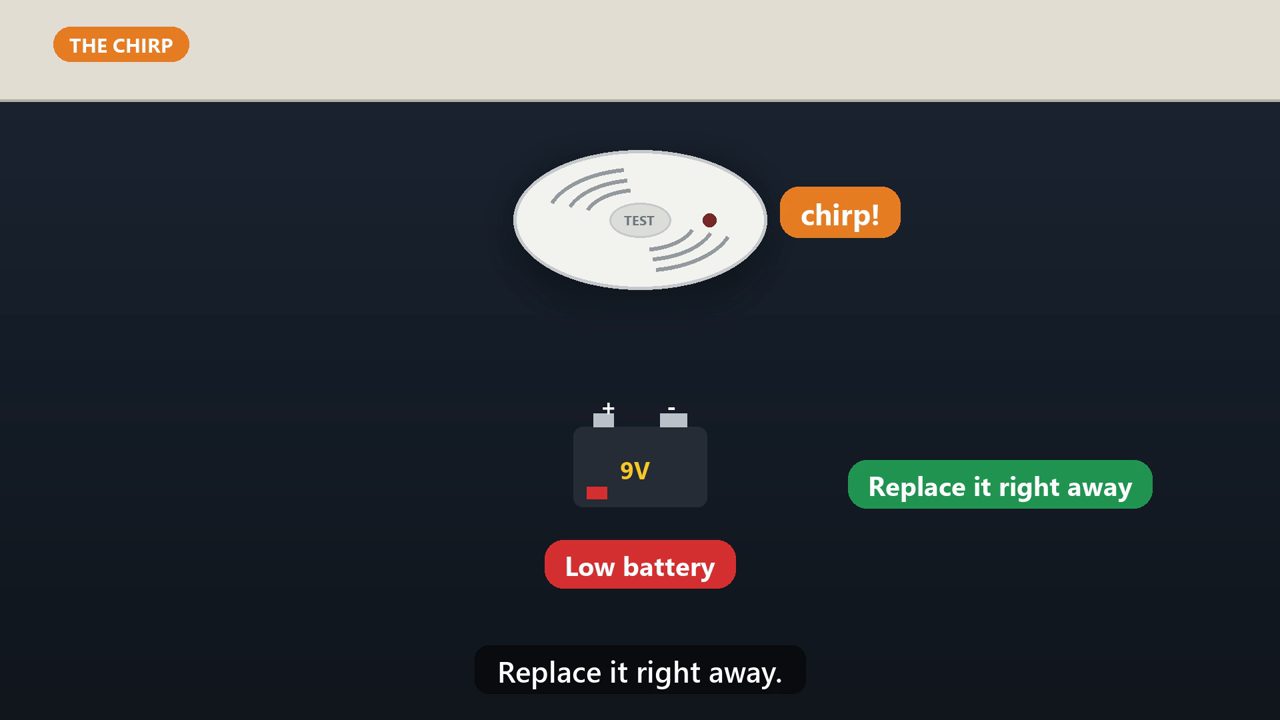
A short chirp, every minute or so, usually means the battery is low. Don't pull the battery and forget it. Replace it right away.
3. Step 2: Change The Battery
Most alarms twist off their base. Turn it counterclockwise, and lift it down. Open the battery door, swap in a fresh battery of the same type, matching plus to plus, and twist the alarm back on. Then test it again.
4. Sealed Ten-Year Alarms
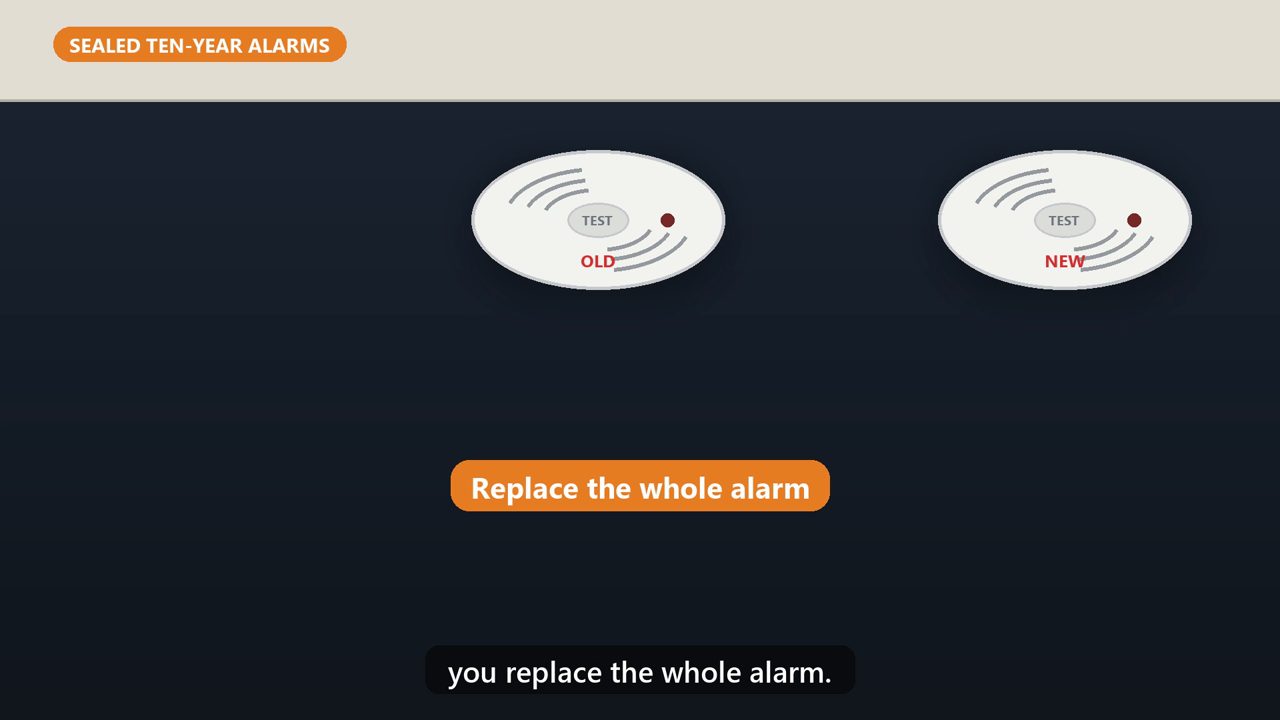
Some alarms have a sealed battery that lasts ten years, with no battery door. When one of those chirps or reaches the end of its life, you replace the whole alarm.
5. Step 3: Check The Date
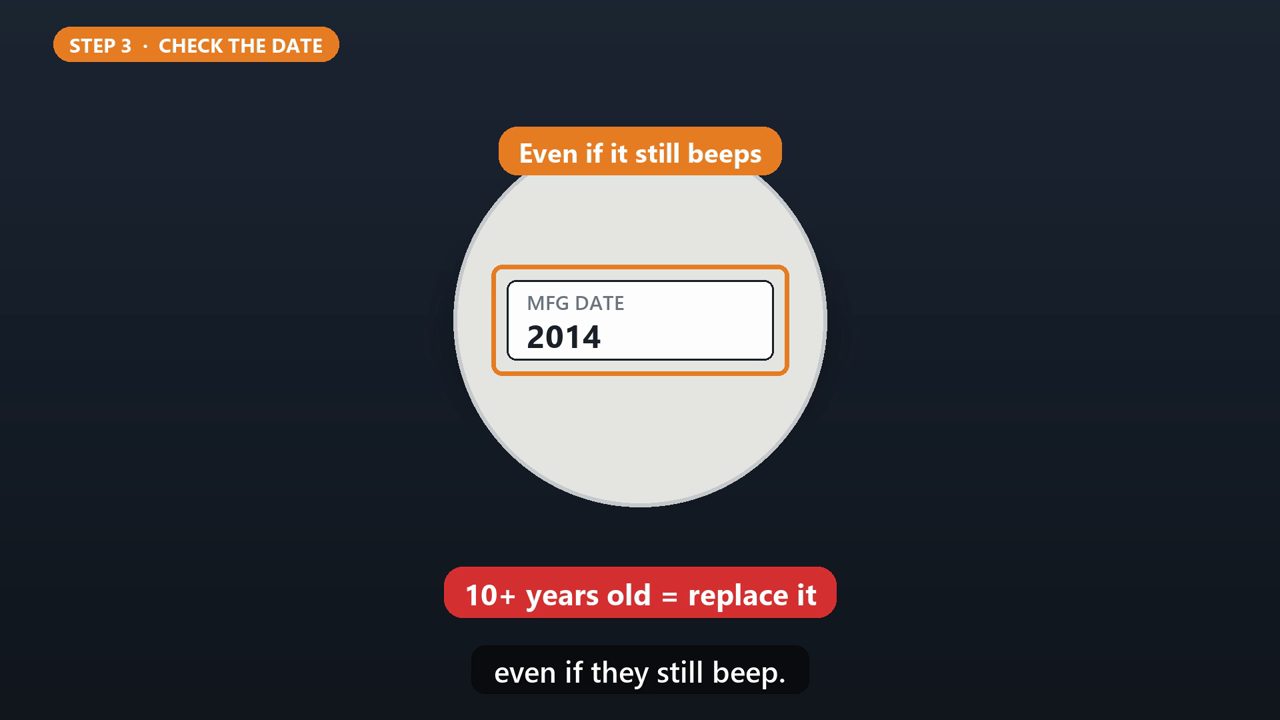
While it's down, look on the back for the date it was made. The N F P A recommends replacing all smoke alarms when they're ten years old, even if they still beep.
6. Where They Belong
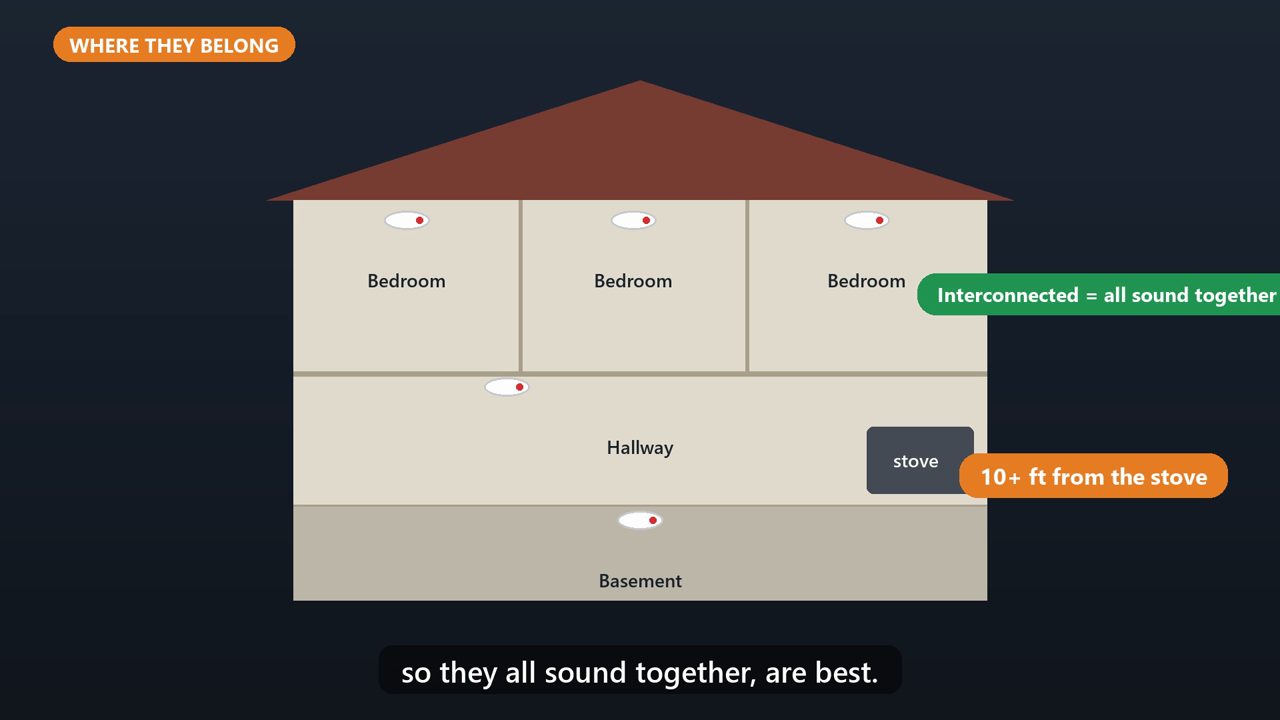
You want one in every bedroom, outside each sleeping area, and on every level, including the basement. Put them on the ceiling or high on a wall, and at least ten feet from the stove. Alarms that are connected, so they all sound together, are best.
Tools that make this easier
Simple Google Sheets + Excel tools from WiscHaven. Buy once, no subscription.


Sources
Checked against the official sources above. Steps can change as apps update - tell us if something looks different: wischavenindustries@gmail.com