How-To Guides · DIY & home
How to Re-Caulk a Bathtub (Clean Lines, No Mold)
Moldy, cracked caulk around the tub doesn't just look bad. It can let water get behind the wall. Here's how to replace it with a clean, straight line, even if you've never done it before.
1. Step 1: Remove All The Old Caulk
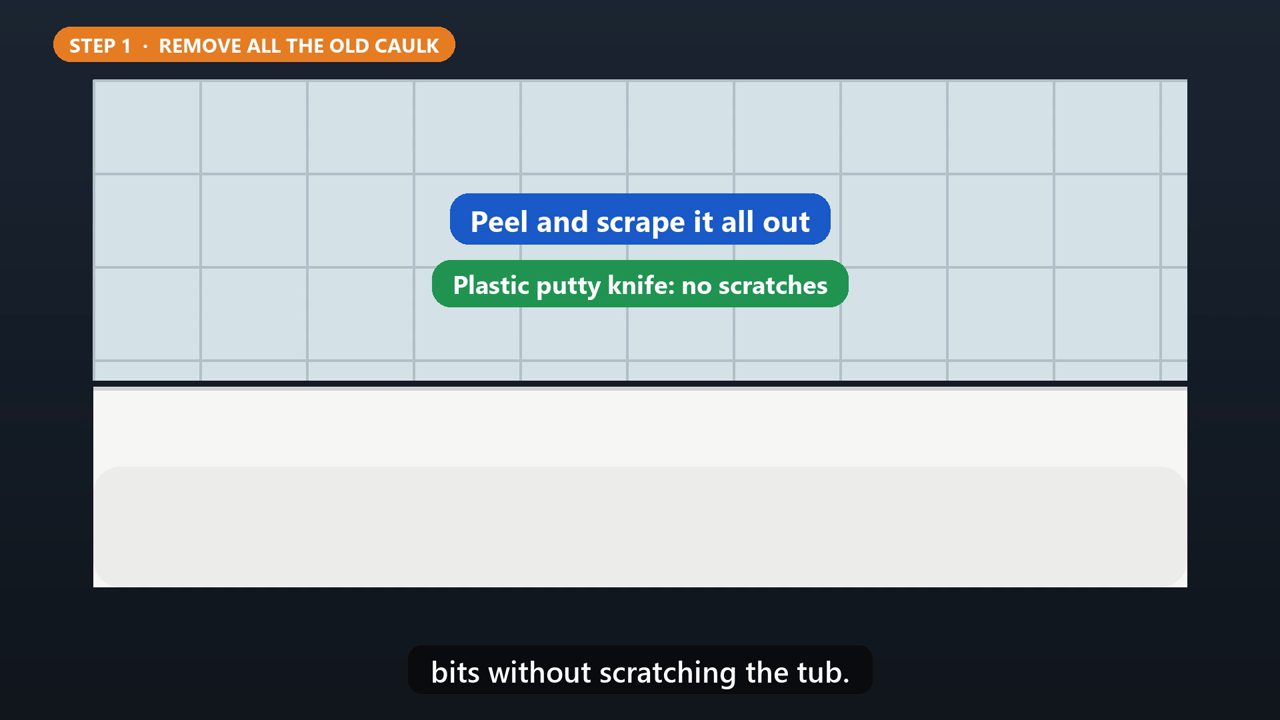
You can't caulk over old caulk. The new bead won't stick. Slice along both edges of the old caulk with a utility knife, then peel and scrape it out. A plastic putty knife gets the last bits without scratching the tub.
2. Step 2: Clean And Dry
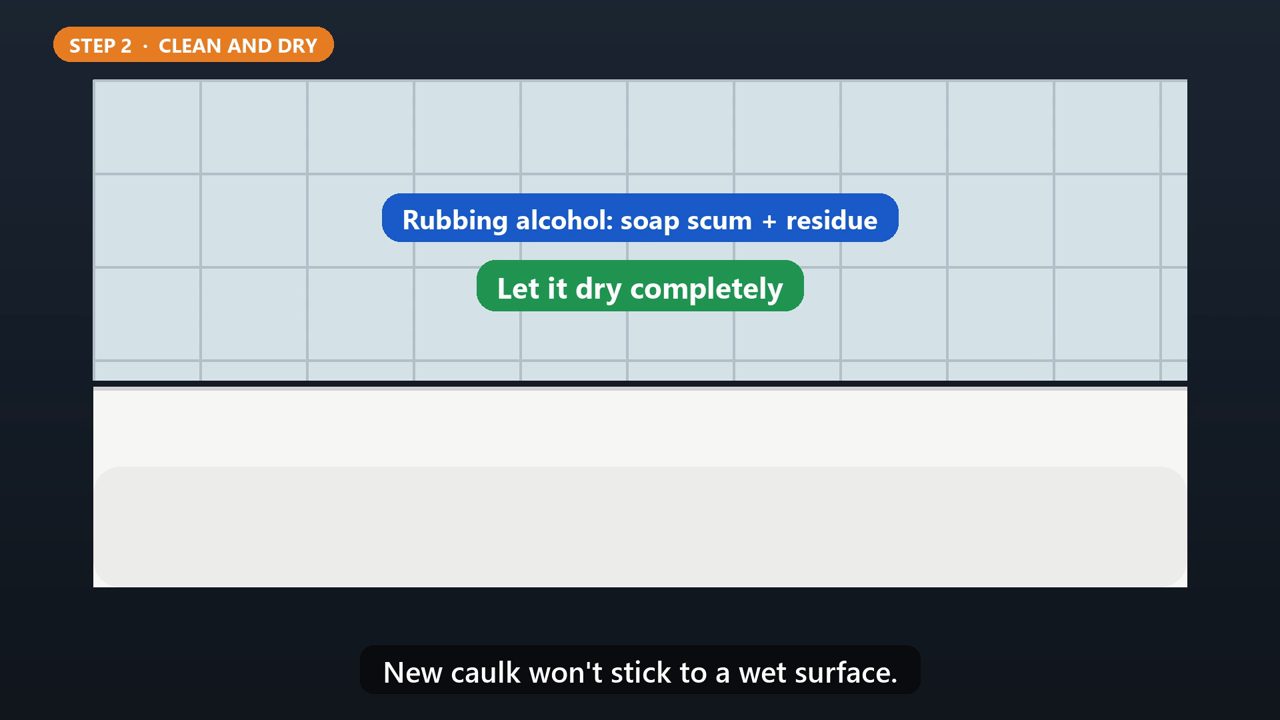
Wipe the joint with rubbing alcohol, to remove soap scum and leftover residue. Then let it dry completely. New caulk won't stick to a wet surface.
3. Step 3: Tape The Lines

Here's the secret to a clean line. Run painter's tape along the tub, and along the wall, leaving a small gap over the joint, about as wide as you want the bead.
4. Step 4: Run The Bead
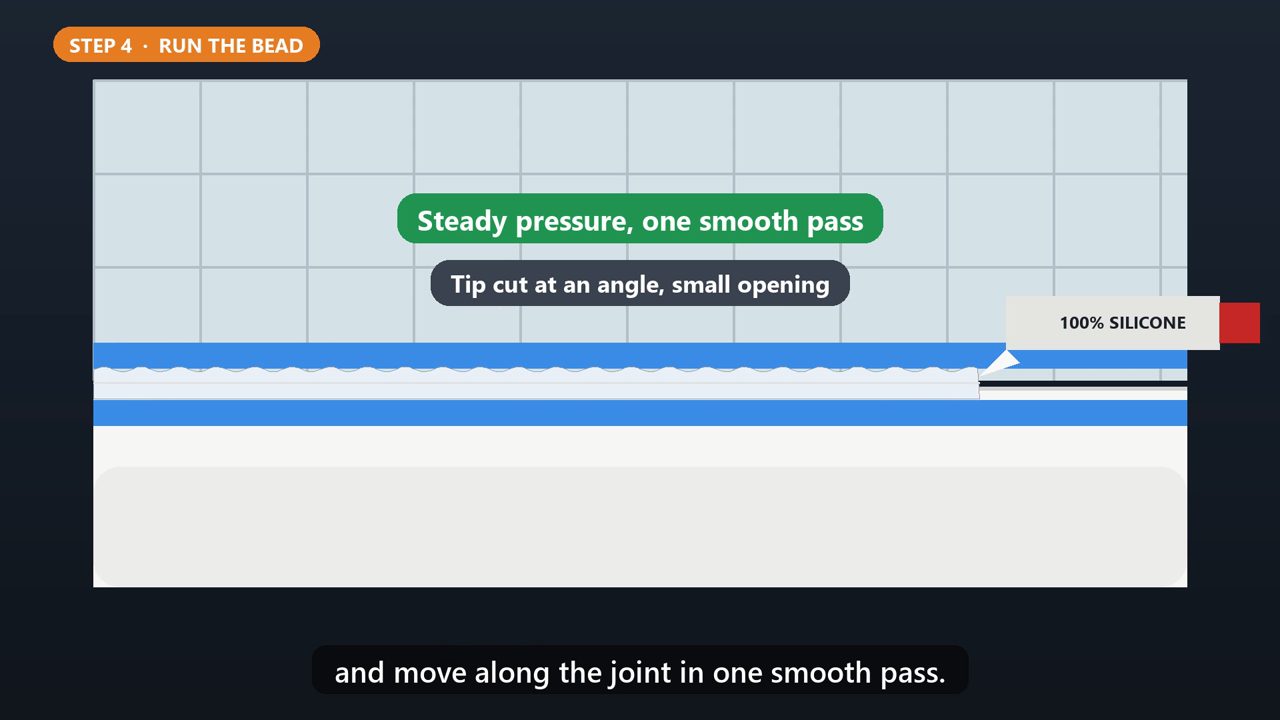
Use a one hundred percent silicone caulk, made for kitchens and baths. Cut the tip at an angle, with a small opening. Squeeze with steady pressure, and move along the joint in one smooth pass.
5. Step 5: Smooth, Then Pull The Tape
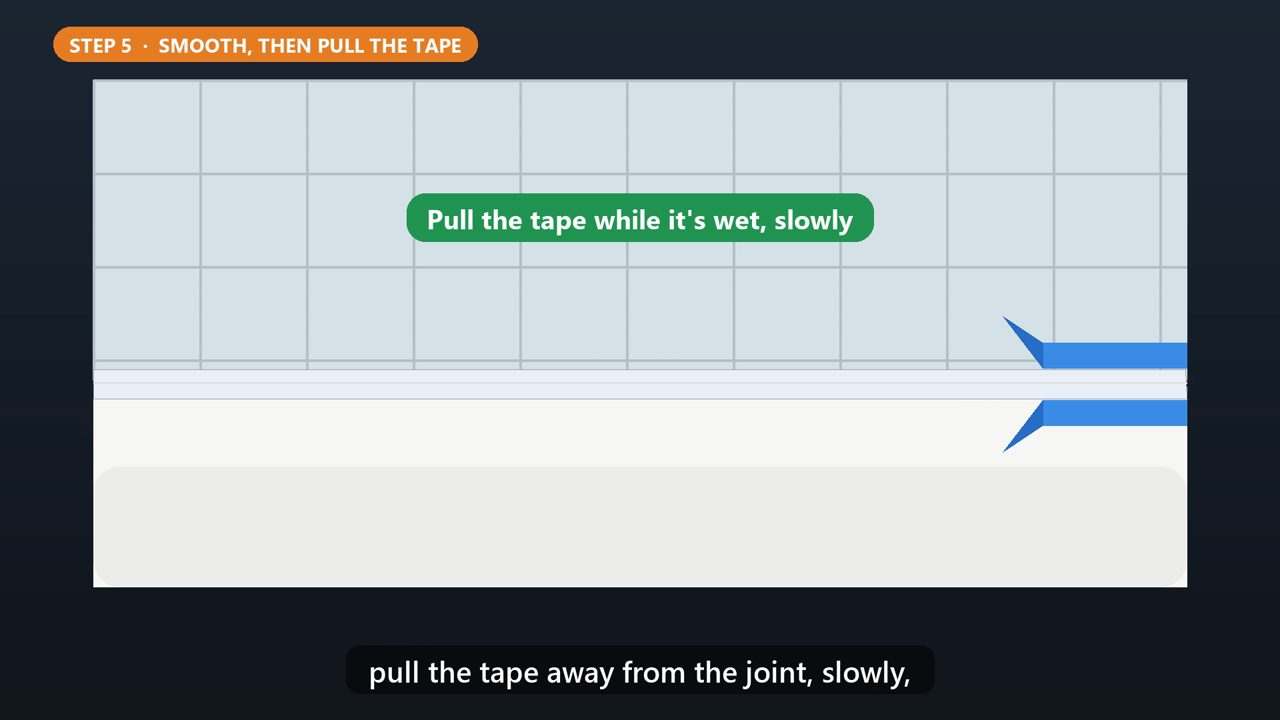
Smooth the bead with a caulk tool, or a wet fingertip. Then, while the caulk is still wet, pull the tape away from the joint, slowly, in one motion.
6. Let It Cure
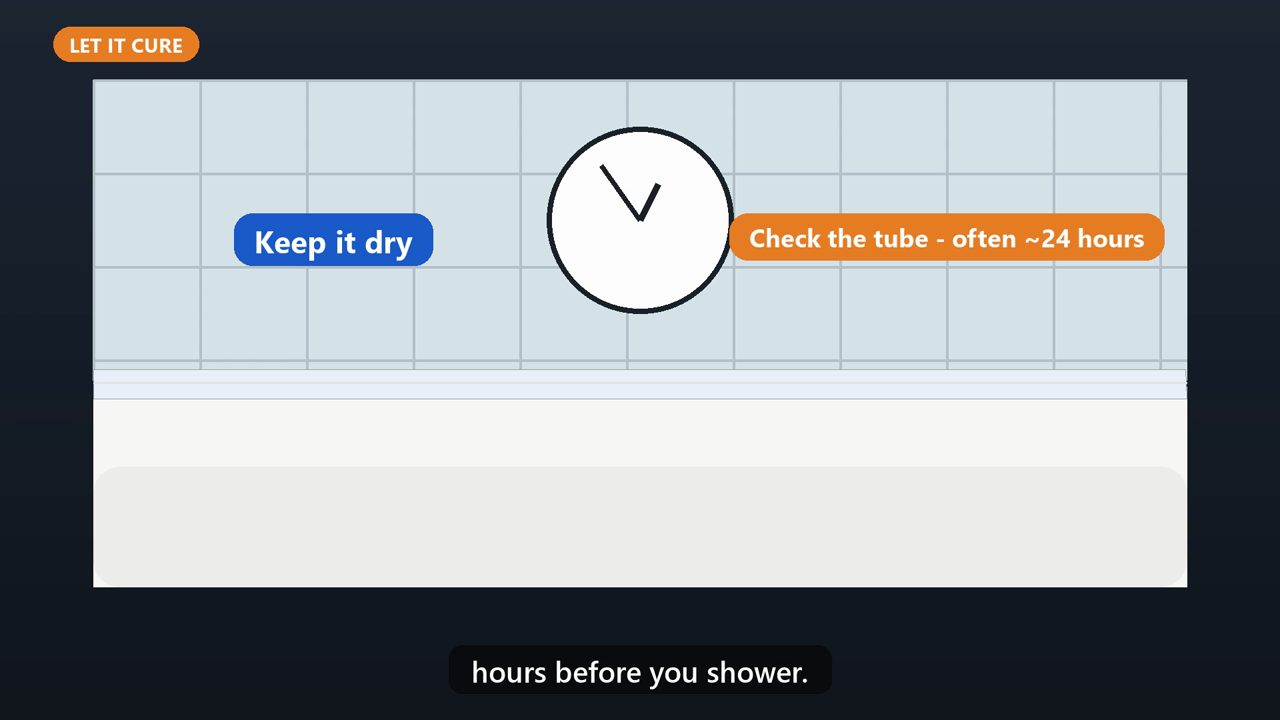
Keep the tub dry while it cures. Check the tube for the time. Many say about twenty four hours before you shower.
Tools that make this easier
Simple Google Sheets + Excel tools from WiscHaven. Buy once, no subscription.




Sources
Checked against the official sources above. Steps can change as apps update - tell us if something looks different: wischavenindustries@gmail.com